


For Arctic cold, use a three-part layered system: a moisture-wicking base layer, an insulating mid-layer, and a windproof, breathable outer shell, paired with insulated boots, mittens, and a hat plus hood for your head. That combination, not any single “warm” garment, is what keeps you comfortable when temperatures drop toward minus 20 or 30 degrees Celsius.
Before you step outside, run through this:
- Base layer: merino wool or technical polyester against your skin, never cotton
- Mid-layer: fleece, wool, or synthetic insulation to trap warm air
- Outer shell: windproof and breathable, with a hood
- Feet: insulated boots one size up, with room for thick wool socks
- Hands: mittens over thin liners, with a spare pair in your bag
- Head and face: a hat under your hood, plus a neck gaiter or balaclava
A quick three-step gut check before you head out:
- Are all three layers on and free of tight spots that squeeze out air?
- Do you have a spare pair of gloves or socks in case yours get wet?
- Is your hood or hat covering your ears completely?
Suomen Latu recommends several thin layers over one thick one, since it lets you adjust as your body heat changes. Työterveyslaitos points out that your head loses heat fast if left uncovered. And a cold-exposure survival study found that wet or windy conditions can cut survival time in an ensemble to under 36 hours, which is exactly why staying dry matters as much as staying warm.
Pro Tip: Get dressed in stages: put on your base and mid-layers indoors, but wait to zip up your outer shell until you’re actually stepping outside. This keeps you from sweating before you even start moving.
Key Takeaways
Arctic dressing works when three layers each do one job: wicking moisture, trapping air, and blocking wind and water, while staying dry matters as much as staying warm.
| Point | Details |
|---|---|
| Use three distinct layers | Base wicks moisture, mid-layer traps air, outer shell blocks wind and water. |
| Skip cotton entirely | Cotton holds moisture against skin and accelerates heat loss in cold conditions. |
| Size boots and gloves up | Extra room preserves the insulating dead-air space that keeps extremities warm. |
| Match layers to activity | High-output activities need breathability; stationary activities need extra insulation. |
| Keep gear dry | Wetting and wind sharply reduce insulation, according to a cold-exposure survival study. |
Table of Contents
- Understanding Arctic Layering: Base, Mid, and Insulating Layers
- Choosing the Right Outer Shell for Arctic Conditions
- Keeping Your Hands and Feet Warm and Protected
- Protecting Your Head and Face From Frostbite
- Adjusting Your Layers for Different Activities
- What to Pack: A Practical Arctic Checklist
- Common Arctic Dressing Mistakes and How to Avoid Them
- Frequently Asked Questions
- Sources
Understanding Arctic Layering: Base, Mid, and Insulating Layers
Arctic dressing isn’t about piling on clothes. It’s about three layers, each doing a specific job, working together.
Your base layer wicks sweat away from skin so it doesn’t sit there and chill you later. Merino wool and technical polyester both do this well; cotton does the opposite, holding moisture against your body and accelerating heat loss. Photographer and Arctic guide Alister Chapman puts base-layer quality above almost everything else on his packing list, and for good reason: a wet base layer undermines every layer above it.
Mid-layers trap the warm air your body generates. Fleece, wool sweaters, and synthetic-fill jackets all work by creating pockets of still air next to your base layer. Whether you wear two thin mid-layers or one thick one depends on your activity: thin layers let you shed one when you warm up on a ski track, while a single thick layer suits standing still for long stretches.
A dedicated insulating “stop” layer, usually a light down or synthetic puffy jacket, belongs in your pack even if you never wear it while moving. The moment you stop to rest, take photos, or wait for a snowmobile, that jacket goes on immediately.
- Base: merino or synthetic, snug but not compressive
- Mid: fleece or wool, sized to allow one more layer underneath
- Insulating: a packable puffy for breaks and stops
Size matters more than people expect. A base layer that’s too tight compresses the air pockets that do the actual insulating, so leave a little room in every layer, especially the ones closest to your skin.
Pro Tip: If you can pinch a bit of extra fabric between your mid-layer and your skin, that’s the right amount of room. If everything feels shrink-wrapped, size up.
Choosing the Right Outer Shell for Arctic Conditions
Your outer shell has one job above all others: keep wind and moisture out while still letting sweat vapor escape. Get this layer wrong and everything underneath it stops working properly.
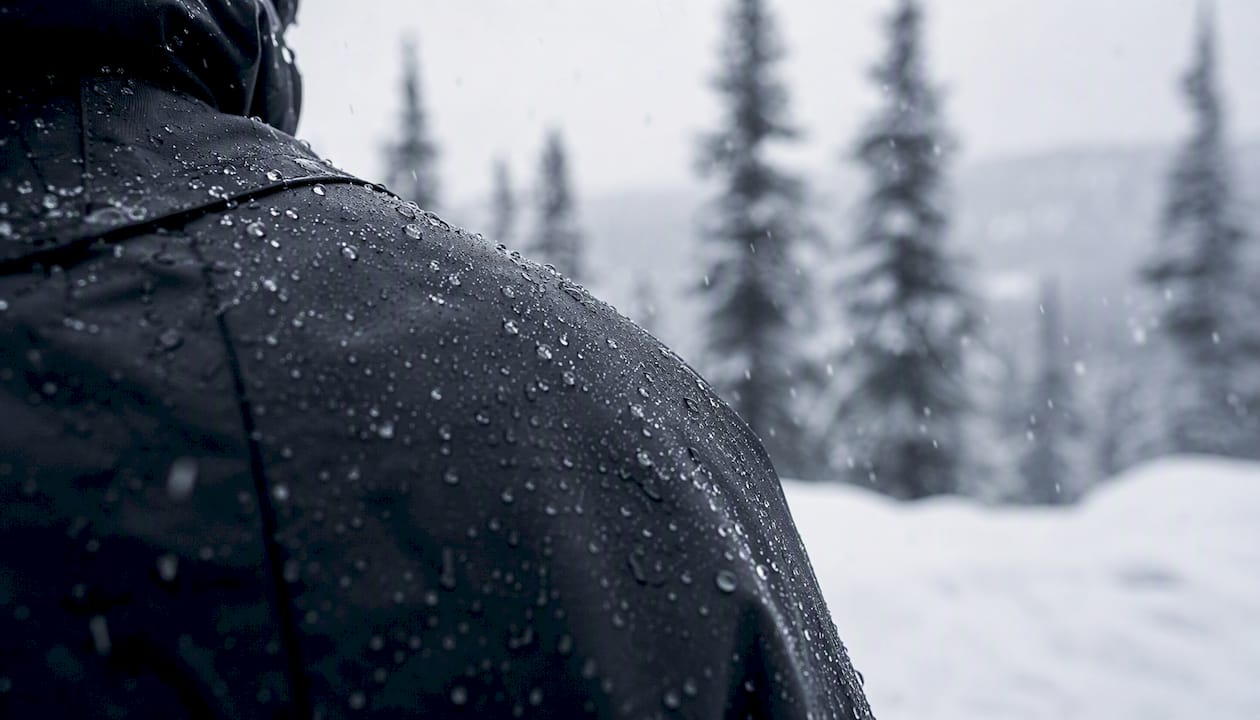
A breathable softshell suits dry, cold conditions with moderate wind, especially during active pursuits like skiing or hiking, where you’re generating heat and need the fabric to release it. A hardshell earns its place when snowfall, sleet, or driving wind threaten to soak your mid-layers, since it’s built to block water completely rather than just resist it.
Insulated outerwear, where the shell and insulation come combined, works well for lower-output activities like dog sledding or wildlife watching. Down offers the best warmth-to-weight ratio but loses much of its insulating power when wet, so synthetic fill is the safer bet for wetter climates or heavy activity where sweat is a factor.
Before you head out, ask:
- How strong is the wind, and will it cut through a softshell?
- Is snow or rain likely, or is it dry cold?
- Will I be moving hard enough to need extra breathability?
Pro Tip: Keep zippers and seams free of ice by brushing off snow before it melts against warm fabric. Frozen zippers are a common and avoidable frustration in deep cold.
Keeping Your Hands and Feet Warm and Protected
Extremities lose heat first, and they’re where most cold-weather mistakes show up. Boots that fit too snugly are one of the most common errors travelers make, since a tight boot squeezes out the dead-air space that actually keeps your feet warm.
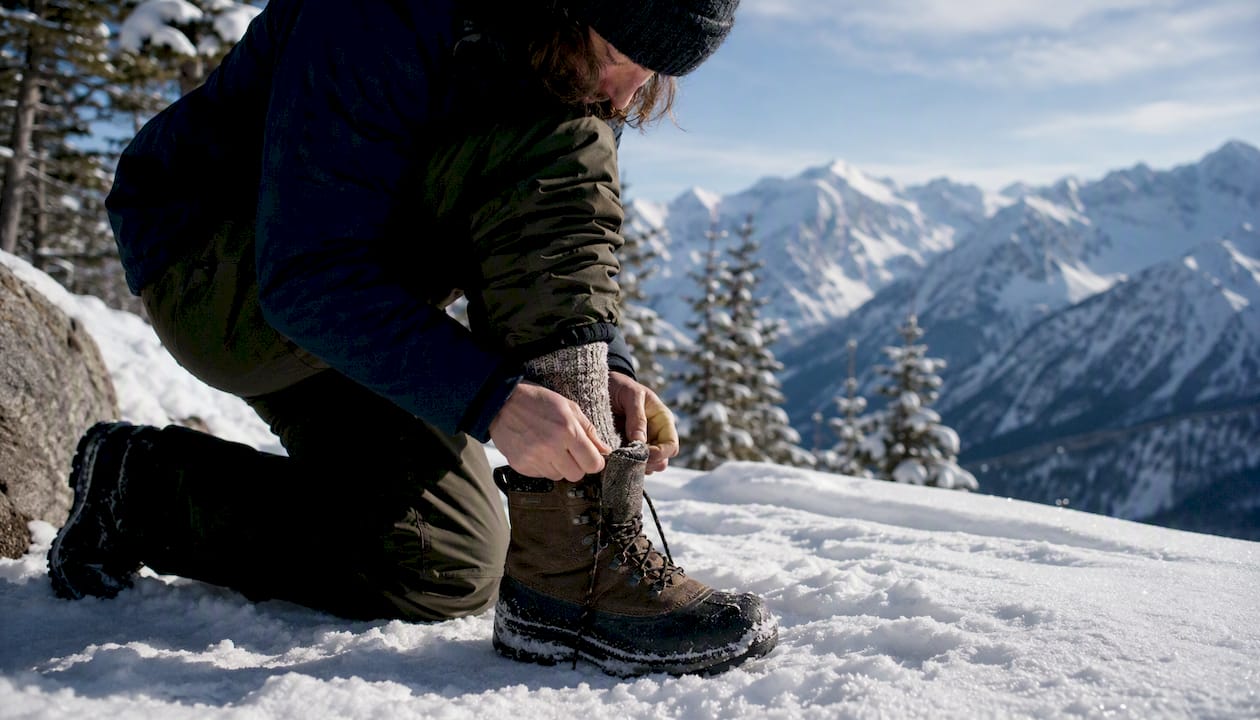
Choose boots a half-size to a full size larger than your regular shoe to leave room for thick wool socks, or a sock-and-liner combination. Avoid cotton socks entirely; merino wool socks manage moisture the same way merino base layers do, pulling sweat away instead of trapping it against skin. Removable liners are worth the investment, since you can dry a wet liner overnight without drying the whole boot.
For hands, the mittens-versus-gloves decision comes down to how much dexterity you need. Mittens keep fingers together, sharing warmth, and outperform gloves in raw cold. Thin liner gloves worn underneath solve the dexterity problem, since you can pull your hand out of the mitten briefly for a phone or camera without exposing bare skin to the air.
- Boots: one size up, paired with wool socks and liners
- Gloves: thin liners under insulated mittens, not standalone gloves
- Backups: always pack a spare pair of socks and gloves
The cold-exposure survival study that models ensemble performance under wind and wetting found that dropping below an in-situ insulation value of roughly 2.6 clo sharply reduces protection, and extremities are usually the first place that drop shows up. Wet gloves or socks are not a minor inconvenience in these conditions; they’re the fastest route to frostbite. Pack spares and swap the moment anything feels damp.
Protecting Your Head and Face From Frostbite
Työterveyslaitos identifies the head as one of the biggest sites of heat loss in cold weather, and a bare head undoes a lot of the work your layered body is doing. A hood alone isn’t enough. Layer a close-fitting hat under your jacket’s hood, and add a neck gaiter or balaclava to cover exposed skin on your cheeks and nose.
For your face specifically:
- A balaclava or face gaiter covers skin a hood can’t reach
- Sunglasses or goggles prevent windburn and snow glare, both common in bright Arctic sun
- If you’re wearing a helmet for snowmobiling or skiing, choose a thin, helmet-compatible liner instead of a bulky hat
Pro Tip: Carry a spare buff or gaiter in your pocket. If yours gets damp from breath condensation, swap it rather than let a wet gaiter sit against your skin.
Adjusting Your Layers for Different Activities
How hard you’re working changes everything about what you should wear. Eräkolmio’s framework for winter layering boils down to three questions: how much you’re moving, how often you’ll stop, and how wet or windy it is.
Cross-country skiing generates enormous body heat, so a lightweight base and breathable mid-layer beat heavy insulation, since overdressing here just means sweating through your base layer. Snowmobiling and photography sit at the other end. You’re mostly still, exposed to wind chill from the machine or from standing in one spot, so a thicker mid-layer and that insulating stop jacket matter far more.
| Activity | Movement level | Layer priority |
|---|---|---|
| Cross-country skiing | High | Breathable base and mid, minimal bulk |
| Snowmobiling | Low to moderate | Windproof shell, thick mid-layer |
| Aurora watching or photography | Very low | Insulating stop jacket, hand and foot warmers |
If you’re joining a guided experience, many outfitters supply an outer cold suit or insulated overalls on top of your own layers, a point worth confirming when planning gear for a snowmobile excursion. Bring your own base and mid-layers regardless, since rental gear rarely covers what touches your skin.
- Start a activity slightly cool; you’ll warm up within minutes of moving
- Add your insulating layer the instant you stop, not after you start feeling cold
- Keep gloves and a hat accessible in outer pockets for fast transitions
What to Pack: A Practical Arctic Checklist
Keep this list on your phone before any Arctic trip.
For a single day out:
- Merino or synthetic base layer (top and bottom)
- Fleece or wool mid-layer
- Windproof, breathable outer shell
- Insulated boots, one size up, with wool socks
- Mittens with thin liner gloves underneath
- Hat, hood, and neck gaiter or balaclava
- Hand and foot warmers
- Insulating puffy jacket for stops
For multi-day stays, add:
- A second full base-layer set, since one will always be drying
- A repair kit for zippers and small tears
- A way to dry gear overnight, such as a boot dryer or warm airing space
- Extra batteries and a charged power bank, since cold drains electronics fast
- Cold cream for exposed skin, plus sunglasses or goggles
Sunday Morning’s own packing guide for Lapland covers seasonal specifics if you’re staying in Pyhä-Luosto and want a second reference point.
Common Arctic Dressing Mistakes and How to Avoid Them
Most cold-weather problems trace back to one of three causes: sweating too much, staying wet too long, or wearing gear that’s too tight.
Overdressing for the activity is the most frequent mistake. Skiers who bundle up as if they’re standing still end up soaked in sweat within twenty minutes, and that moisture becomes a liability the second they slow down. The same cold-exposure study referenced earlier found that wetted or wind-exposed clothing ensembles can lose enough thermal protection to fall below a 36-hour survival threshold, a stark reminder that wet gear isn’t just uncomfortable, it’s a real safety issue.
Tight footwear and gloves are the second common error, since compressed insulation stops doing its job regardless of how thick the material looks. And delaying the stop jacket, waiting until you already feel cold before adding insulation, means you’re playing catch up against a heat deficit that’s harder to recover from outdoors than indoors.
A few habits fix most of this:
- Keep a dry “rescue” layer in your pack that never gets worn until you actually need it
- Get out of the wind before you get out of your wet layer, not after
- Check fingers and toes periodically for numbness or loss of sensation
Pro Tip: Rotate damp layers to an outer pocket where body heat and airflow can dry them slightly, rather than leaving them against your skin where they keep cooling you down.
A Note From the Field
Guests most often forget backups, extra gloves, a spare base layer, and phone batteries die fast in the cold. Keep power banks in an inside pocket. On guided excursions, Sunday Morning typically provides outer cold suits and boots, but your own base layers still matter most.
Ready to put this into practice somewhere the cold is part of the experience, not just something to survive? Sunday Morning’s Arctic Winter Getaway Package pairs boutique, sustainable lodging in Pyhä-Luosto National Park with guided husky safaris, snowmobiling, and Northern Lights tours, several of which include outer cold-weather gear so you can focus on packing the layers that actually touch your skin.
Frequently Asked Questions
What is the best system for arctic pukeutuminen in extreme cold? The most reliable arktinen pukeutuminen system uses three layers: a moisture-wicking base, an insulating mid-layer, and a windproof, breathable outer shell, plus protected hands, feet, and head.
Can I use cotton clothing in Arctic conditions? No. Cotton absorbs and holds moisture against your skin, which speeds up heat loss once you sweat or encounter snow. Merino wool and technical polyester are far better base-layer choices.
Should boots and gloves fit tightly for warmth? No, the opposite is true. Tight boots and gloves compress the insulating air layer that keeps you warm, so size up to leave room for thick socks or liner gloves.
How do I adjust layers for skiing versus standing still? For high-output activities like skiing, wear lighter, more breathable layers to avoid sweating. For low-output activities like photography or snowmobiling, add a thicker mid-layer and put on an insulating stop jacket the moment you pause.
Why does staying dry matter as much as staying warm? Research on cold-exposure ensembles shows that wet or wind-exposed clothing loses much of its thermal protection, in some cases cutting modeled survival time below 36 hours, which makes dryness a genuine safety factor, not just a comfort one.
Sources
- Kerrospukeutuminen: miten toimii?
- Pakkasella vaatetuksen tärkein osa on ilma – kuusi vinkkiä pukeutumiseen kylmässä | Työterveyslaitos
- OCRE-TR-2012-12 (Cold exposure survival modeling and clothing ensemble evaluation)
- Arctic Clothing Guide | Alister Chapman
Recommended
- What to Pack for Lapland | Winter Clothing Guide | Sunday Morning Collection
- Arctic Experiences in Finnish Lapland – Discover the Real North | Sunday Morning Collection
- Arctic Experiences in Finnish Lapland – Discover the Real North | Sunday Morning Collection
- Arctic Winter Getaway Package | Sunday Morning Collection
