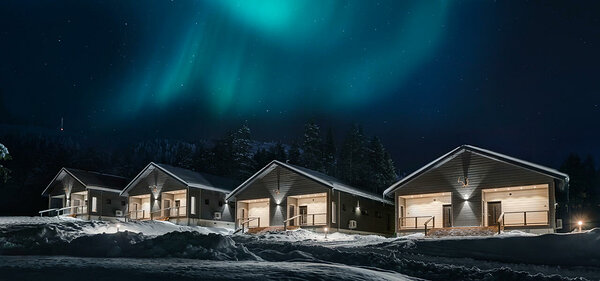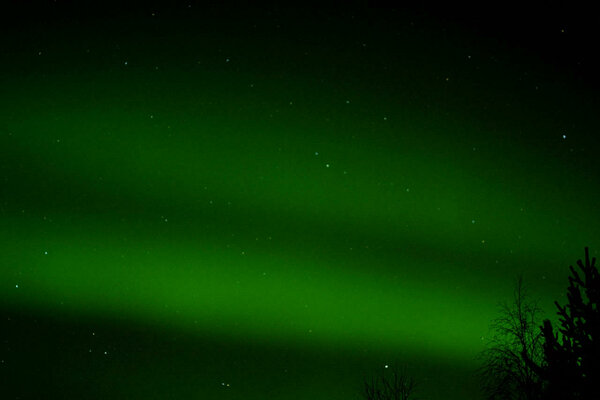
Photography of Northern Lights
Catching a great photo of the Northern Lights is also on many people's bucket list. Getting a good photo of the Northern Lights is not as difficult as it may seem. Here are quick tips for Northern Lights photography!- Be sure to use a tripod to set the camera steady, even the slightest blur will ruin the picture. Lightweight and small tripods for pocket cameras are also available, so you may not need a SLR camera and a sturdy tripod. Your mobile phone might also take a good shot if the camera is mounted on a tripod or otherwise well supported.
- Preferably use the camera's self-timer or remote control, or use the self-timer delay to eliminate possible jitter
- Camera Settings: These are example settings, you can try to find the best ones for your camera and also the one for specific northern lights. The Northern Lights often move either fast or very slowly… Try different shutter speeds depending on the speed of the Northern Lights. If your camera can't adjust to all of these suggested adjustments, try adjusting the camera as much as you can.
- ISO: 400
- Exposure time: 4 seconds (if auroras are very slow, increase the time to 10-13 seconds)
- Aperture: keep your camera's f-number as low as possible, eg 2.8 is already ok if your camera (or lens) bends to it. The 1.4 is a great aperture for depicting the Northern Lights.
- White balance: Any of the daylight settings, either sun or cloudy
- Auto: Shoots manually, that is, with manual control, so turn off auto focus
- Focus: set focus to infinity (mf button on camera)
- With the SLR camera and most camera cameras, all of these adjustments can be changed when the camera is in M mode
- Adjust all settings, especially if you go out into the dark and cold. Inside, warm adjustments are the most comfortable to make. And what better suits it than your own warm terrace :)


.jpg)


.jpg)
.jpg)


