


Use manual exposure, manual focus, a tripod, and one of two setting recipes to start capturing the northern lights tonight. For fast, bright aurora, try an ISO around 1600, aperture f/2.8, and a short shutter speed of a few seconds. For faint, slow-moving aurora, use a higher ISO and longer shutter speed, adjusting settings to the lighting conditions. Shoot RAW so you can fix white balance and pull back detail later, and lock your focus manually before the sky does anything interesting.
TL;DR:
- Use a full-frame camera with RAW capture, a wide-angle lens at f/2.8 or wider, and a sturdy tripod for optimal aurora photography.
- Set shutter speed based on aurora movement, ranging from 1.5 seconds for bright, fast displays to 30 seconds for faint, slow ones, adjusting ISO accordingly.
- Manually focus on a bright star or moon using live view and check sharpness to ensure precise focus in low light conditions.
- Keep extra batteries warm and swap them promptly to avoid power loss during cold nights, and use remote triggers or timers to prevent vibrations.
- Compose with foreground elements, such as trees or cabins, and shoot in bursts or brackets to adapt quickly as the aurora changes.
Table of Contents
- Equipment You Need Before You Chase Revontulikuvaus Asetukset
- What Camera Settings Work Best for Northern Lights?
- How Do You Get Sharp Focus in the Dark?
- A Repeatable Workflow for Shooting Auroras
- Composition Tricks That Make Aurora Photos Pop
- Fixing Common Field Problems Fast
- Simple RAW Edits That Make Your Aurora Shots Sing
- Shooting From a Base That’s Built for Aurora Nights
- What I’d Tell You Before Your Next Clear Night
- Sources
Equipment You Need Before You Chase Revontulikuvaus Asetukset
Getting your revontulikuvaus asetukset right starts before you leave the cabin. The gear you bring shapes what settings are even possible.
- A camera with full manual exposure control and RAW capture, since aurora colors get lost in most JPEG engines
- A wide-angle lens with a fast aperture, ideally f/2.8 or wider; a short telephoto is a nice second body for tighter, more dramatic frames
- A sturdy tripod that won’t shift in wind or on snow, plus a remote release or your camera’s 2 second timer
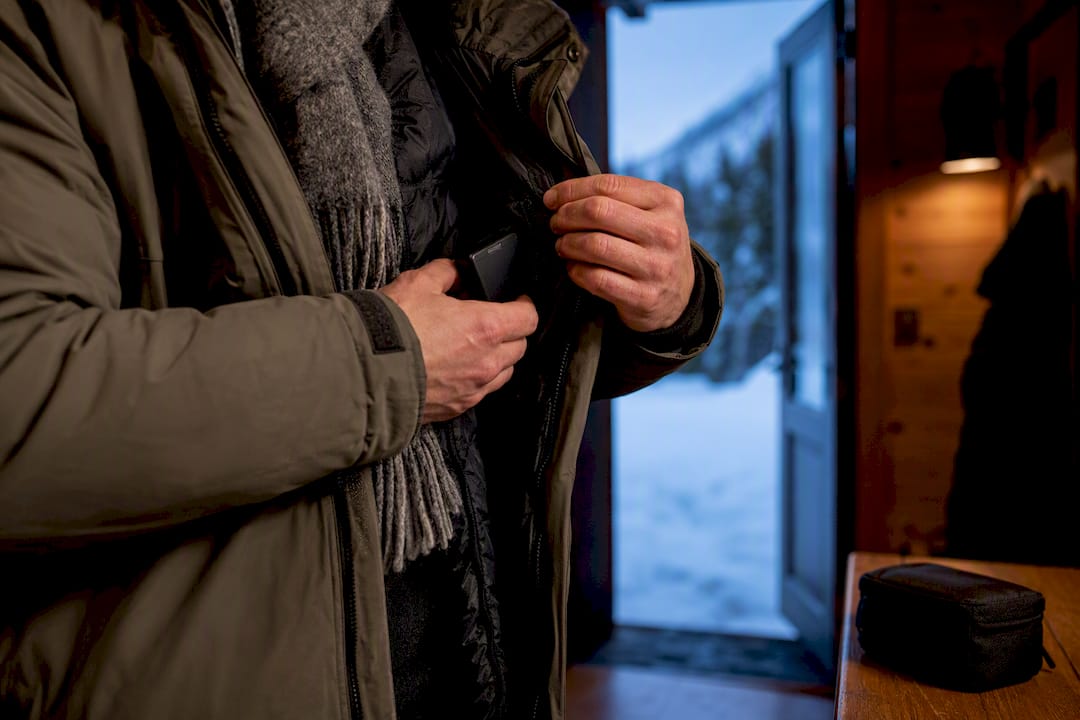
- Extra batteries kept warm in an inside pocket, and a power bank for phones or accessories
- A lens heater or hand warmers, a headlamp with a red-light mode, and real winter layers
Cold cuts battery life fast, and a dead camera at the exact moment the sky turns green is the worst kind of lesson.
Pro Tip: Pack your spare batteries against your body, not in your camera bag. Body heat alone can buy you an extra hour of shooting time on a cold night.
What Camera Settings Work Best for Northern Lights?
Aperture comes first. Open your lens to its widest native setting, aiming for something in the f/1.8 to f/4 range depending on what your glass allows. A wider aperture pulls in more light per second, which means shorter shutter speeds and cleaner images.
Shutter speed depends entirely on how the aurora is moving. Fast, dancing aurora calls for 1.5 to 4 seconds, or you’ll blur the ribbons into a green smear. Moderate, rolling aurora does well with 5 to 15 seconds. Very faint, slow-moving aurora often needs 15 to 25 seconds just to register on the sensor at all. Canon’s own field guidance recommends starting around ISO 1600 to 3200 with the widest aperture available and adjusting shutter speed to match aurora speed, which lines up closely with what working photographers actually use in Lapland.
ISO fills the remaining gap, typically somewhere between 400 and 3200. Full-frame sensors handle high ISO more gracefully than crop sensors, so if you’re shooting APS-C, lean toward a slightly longer shutter speed instead of pushing ISO past 3200.
Field-tested range: Practitioner settings documented by Rajala Camera show exposures as short as 1.5 seconds for fast, bright aurora and as long as 20 to 30 seconds for faint, still displays. There is no single correct number. The sky tells you which end of the range to use.
For white balance, start on Auto or Daylight rather than a custom Kelvin value. Aurora light shifts fast, and correcting a slightly-off white balance in RAW is far easier than guessing a fixed number in the field. The most common fix in post is pulling out an unwanted green cast, which almost every aurora RAW file carries to some degree.
How Do You Get Sharp Focus in the Dark?
Autofocus fails at night almost every time, so manual focus isn’t optional. Switch to live view, zoom in digitally on a bright star, a planet, or the moon, and turn the focus ring until that point snaps into a tight dot rather than a fuzzy blob. Cameras with focus peaking make this faster by highlighting in-focus edges in a bright color overlay.
- Take a test shot, zoom into the image on your camera screen, and check for tack-sharp stars before committing
- Don’t trust the infinity mark on your lens barrel. It’s rarely calibrated for actual optical infinity and shifts with temperature
- If you have a foreground subject like a cabin or a tree line, decide whether the sky or the foreground matters more, since focusing precisely on one can soften the other at wide apertures
- For most aurora shots, focus on the stars first. The foreground usually still reads sharp enough at f/2.8 and beyond, given the depth of field a wide lens provides at infinity-range focus
A Repeatable Workflow for Shooting Auroras
A good workflow saves you from fumbling with menus while the best light of the night slips by.
- Before you leave, confirm batteries are charged and warm, your card has space, and your camera is set to RAW with manual exposure mode selected
- Mount the camera on the tripod, compose your frame, and lock focus using live view on a bright star
- Fire a short test burst and check the histogram and image sharpness at 100% zoom
- If the aurora brightens suddenly, shorten your shutter speed first; only raise ISO if that’s still not enough
- If it fades, lengthen your shutter speed or raise ISO to compensate
- Switch to interval shooting or an intervalometer if you want a sequence or time-lapse, since consistent timing matters more than any single frame
Pro Tip: Keep one hand near the shutter release at all times once the aurora starts moving fast. The difference between a great frame and a missed one is often two or three seconds.
Composition Tricks That Make Aurora Photos Pop
A green sky alone rarely tells a story. What separates a forgettable frame from one people actually stop scrolling for is scale and context.
- Anchor the frame with a foreground element like a tree line, a cabin, or a lone figure, and light it gently with a headlamp on low power rather than a direct blast
- Try a vertical frame occasionally instead of defaulting to landscape orientation; it emphasizes the vertical pillars aurora sometimes forms
- Push the horizon low in the frame to give the sky more room to breathe
- If you add a person, have them stay still for the full exposure, since even small movement blurs badly at 10 seconds or longer
- A wider focal length exaggerates the sense of a huge sky; a longer lens compresses the scene and makes fast aurora motion read as more dramatic streaks
Fixing Common Field Problems Fast
Cold weather punishes gear in ways that have nothing to do with your settings dial.
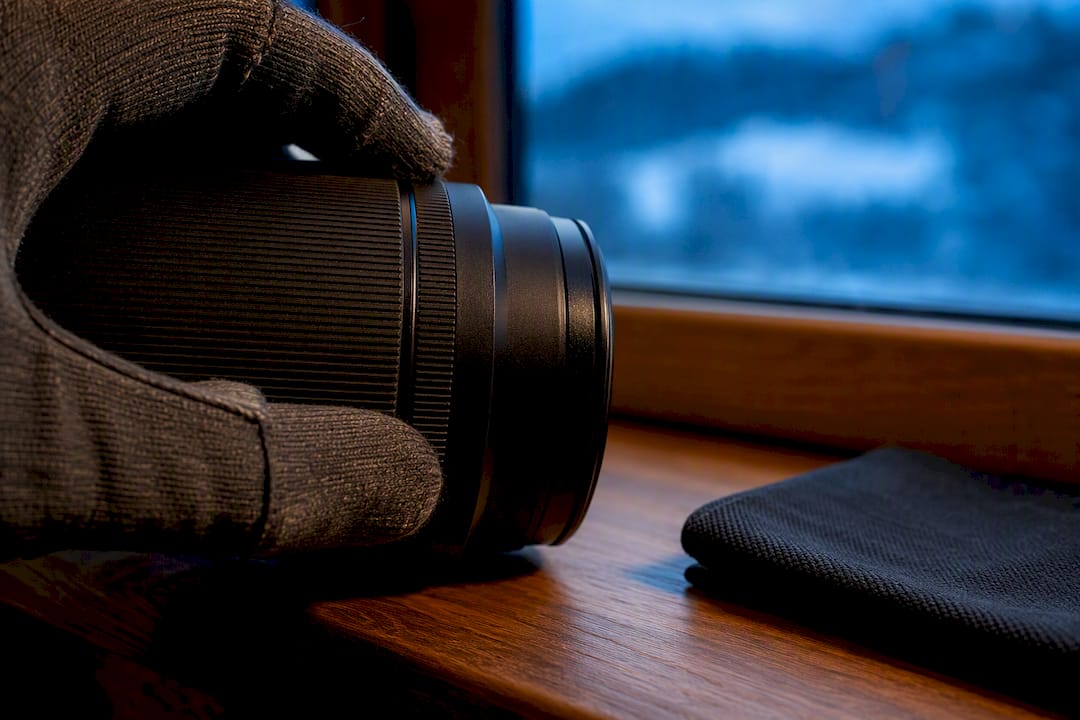
- Lens fogging happens when a cold lens meets warm, humid air; a lens heater or hand warmers wrapped around the barrel prevent it, and Scandinavian Photo’s field guidance specifically warns against rapid temperature swings, which cause condensation on the front element
- Keep spare batteries in an inside pocket and swap them the moment performance drops, rather than waiting for a full shutdown
- Vibration ruins long exposures faster than almost anything else; use a remote release or your 2 second timer, and never touch the camera during the actual exposure
- When noise creeps in at high ISO, decide whether a slightly longer shutter speed would let you drop ISO instead. If the aurora is moving fast, accept the noise and fix it in post rather than blurring the structure
Pro Tip: A two-second timer often outperforms a wireless remote in serious cold. Consumer remote triggers can fail below freezing, while your camera’s built-in timer never will.
Simple RAW Edits That Make Your Aurora Shots Sing
RAW files hold color and highlight data that JPEG throws away, which is exactly why Canon recommends shooting RAW for aurora work in the first place.
- Adjust overall exposure and contrast first to set the baseline mood of the image
- Balance highlights and shadows so the brightest aurora structures don’t clip while the foreground stays visible
- Correct white balance to pull out excess green, a near-universal issue in aurora RAW files
- Apply modest noise reduction, especially in shadow areas
- Finish with selective sharpening on the aurora structure and any foreground detail, rather than a blanket sharpen across the whole frame
A basic RAW editor handles all five steps without needing anything specialized.
Shooting From a Base That’s Built for Aurora Nights
Staying somewhere designed around aurora viewing cuts out a lot of the friction. Shorter drives to dark sky means more shooting time and less risk of missing a display while you’re still en route, and a warm space nearby makes battery swaps and gear checks far less miserable at midnight. Locations with responsible outdoor lighting also help by keeping nearby light pollution low, which matters more for faint aurora than most people expect. If you’re mapping out where to base yourself, Sundaymorning’s guide on where you’re most likely to see the northern lights in Lapland and its breakdown of the best time to see the northern lights are worth reading before you plan your trip.
What I’d Tell You Before Your Next Clear Night
Start with the two recipes, then adjust fast as the sky changes. Don’t be precious about any single frame. Shoot in bursts, bracket your shutter speeds, and dress warmer than you think you need to, because the best displays always seem to happen twenty minutes past when you planned to head back inside. Try it on the next clear night and let the sky tell you what to change.
— Juho
Sources
- Satumaisia otoksia tanssivista valoista: Menna Hossamin vinkit revontulien kuvaamiseen (Canon)
- Markus Kiilin vinkit revontulien kuvaamiseen (Rajala Camera)
- Revontulien kuvaaminen (Scandinavian Photo)
